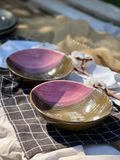
How to Transfer a Plant Print to a Ceramic Product: Step-by-Step Process and Artistic Value
Transferring a plant print to a ceramic product is a unique technique that allows you to preserve and reproduce natural textures and shapes on clay, adding a unique character to the products. This method is used in ceramic art to create aesthetically appealing and symbolic elements that combine the beauty of nature and the skill of the potter. Let's take a closer look at this process and why this technique is so important in the world of ceramics.
1. Selection and Preparation of Materials
Clay preparation
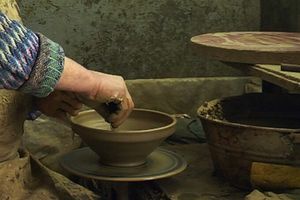
The first step in creating a ceramic product with an imprint of a plant is the preparation of clay. Clay should be soft and plastic, which will make it easy to work with it. It is important to knead the clay thoroughly to eliminate possible air bubbles that can cause cracks during firing.
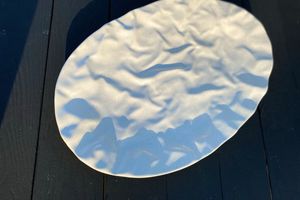
Rolling out the clay: The clay is rolled out to the desired thickness, usually a few millimeters, depending on what the final product will be (tile, plate, cup, etc.). The surface should be smooth and even.
Plant selection
It is very important to choose the right plant that will be used to create a print. Plants with clear and detailed textures are best - for example, leaves, flowers, twigs or even grass.
The choice of textures: Leaves with pronounced veins, flowers with thin petals or blades of grass with clear contours will provide a bright and detailed print. The plant must be fresh so that its texture is transferred to the clay as clearly as possible.
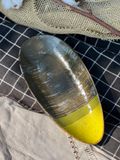
2. Placing and Pressing the Plant on the Clay
Plant location
After preparing the clay and selecting the plant, the plant is carefully placed on the surface of the clay. This stage requires carefulness, because the final pattern on the ceramic product depends on exactly how the plant will be located.
Creativity in arrangement: The craftsman can experiment with the position of the plant, creating unique compositions or even combining several different plants for a complex pattern.
Plant pressing
After the plant is placed on the clay, it is gently pressed against the surface to get a clear impression. This can be done with the help of fingers, special tools or even a rolling pin.
Pressing technique: It is important to apply enough pressure so that the texture of the plant is clearly reflected on the clay, but not to damage the plant itself or the clay surface. In the case of complex forms of plants, you can use tools with soft edges for more uniform pressing.
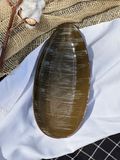
3. Plant Removal and Impression Adjustment
Careful removal of the plant
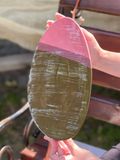
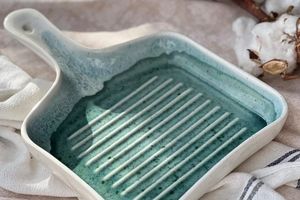
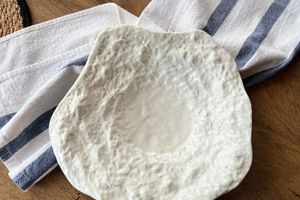
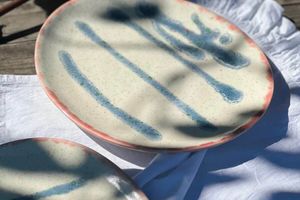
After pressing, the plant is carefully removed so as not to damage the imprint on the clay. If the process is performed correctly, a clear imprint of the plant's texture remains on the surface of the clay.
Cleanliness of the impression: The removal of the plant should be as careful as possible to avoid blurring of the details. If plant remains or small particles remain, they can be carefully removed with a fine tool.
Adjustment and Detailing
At this stage, the master can adjust the print by emphasizing details or creating additional decorative elements around the print. This gives the product more individuality and allows you to emphasize the natural beauty of the print.
Adding textures: If desired, the master can further emphasize the contours or add other elements that harmoniously combine with the print.
4. Drying and Firing
Product drying
After the impression of the plant is made, the product is left to dry. Drying should be slow and even to avoid cracking or warping.
Moisture control: It is important that the clay dries evenly, so it is left in a well-ventilated place for several days. In some cases, to avoid too fast drying, the product is covered with fabric or polyethylene.
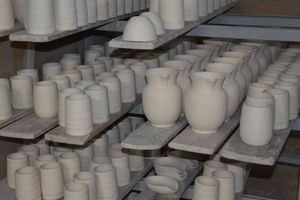
The first firing
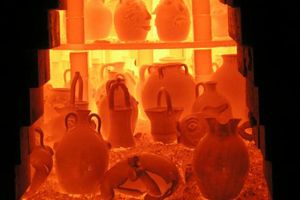
After drying, the product is subjected to the first firing - the so-called biscuit firing. This makes the clay hard and prepared for the next stages of processing.
Firing temperature: Biscuit firing usually takes place at a temperature of 900 to 1000 degrees Celsius, depending on the type of clay.
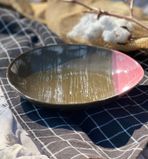
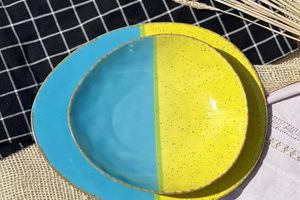
5. Glazing and Second Firing
Glaze application
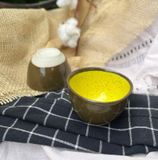
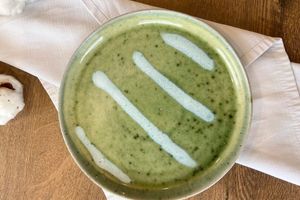
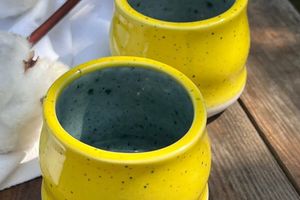
After the first firing, the product is glazed. The glaze can be transparent to keep the impression visible, or colored, depending on the desired effect.
Choice of glaze: A clear or translucent glaze is best for preserving and emphasizing the natural texture of the print. It adds shine to the product and protects its surface.
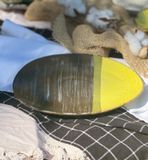
Final Firing
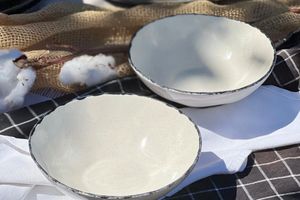
After applying the glaze, the product is fired again in the oven to fix the glaze and make the product strong and durable.
Second firing temperature: Depending on the type of glaze, the firing temperature can vary, but it is usually 1100-1300 degrees Celsius.
Artistic Meaning of Plant Prints on Ceramics
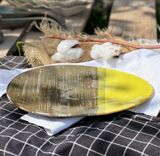
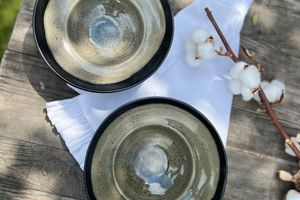
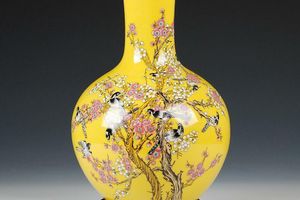
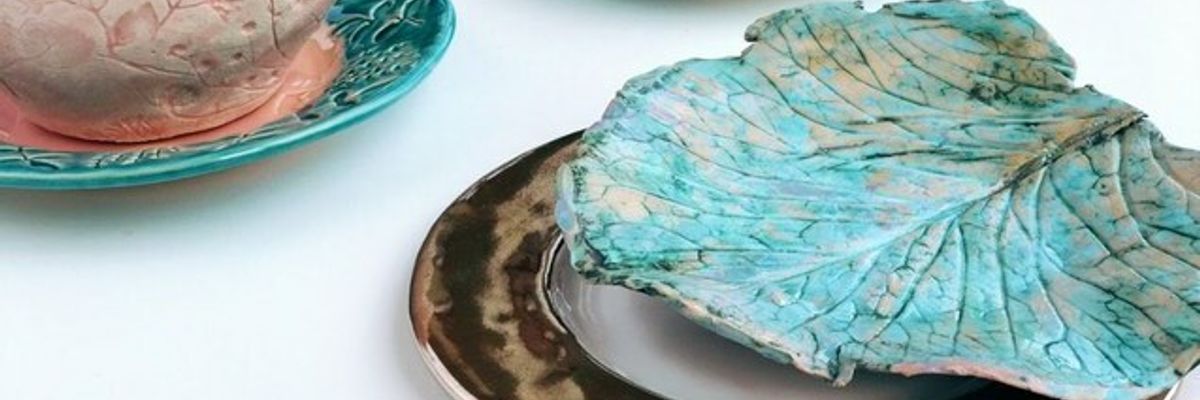
The imprint of a plant on a ceramic product carries a deep symbolic meaning. This process allows you to preserve the natural beauty and even the "imprint" of a specific moment in time, because each product is unique and it is impossible to repeat it exactly the same. Imprints of plants can symbolize the connection of man with nature, its cycle and transformations. In addition, such products often evoke associations with seasonal changes, fertility, the life cycle, which gives them even greater emotional depth.
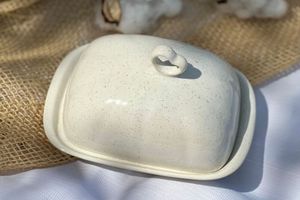
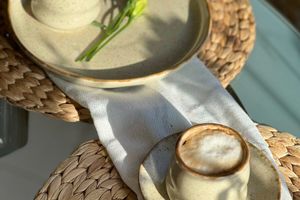
The technique of plant prints is popular among craftsmen who seek to bring elements of nature into their products. It helps preserve a piece of natural beauty in ceramics, turning an ordinary tableware or decorative item into a work of art that carries a piece of the life and energy of a plant. Such ceramics become a symbol of the connection between nature and human creativity, reminding us of the harmony and beauty of the surrounding world.