How to make ceramic dishes yourself
Introduction
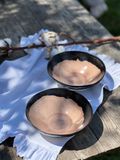
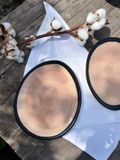
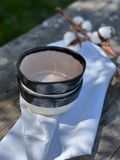
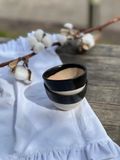
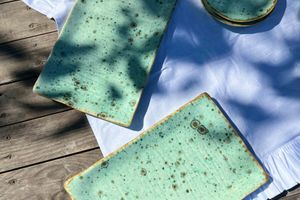
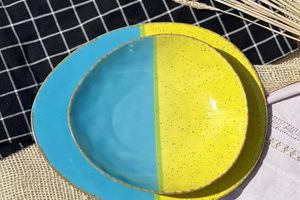
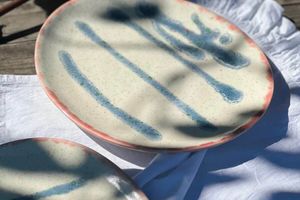
Ceramic dishes made by yourself not only add uniqueness to your kitchen, but also bring great pleasure from the process of creation. If you've always dreamed of trying your hand at pottery, this guide is for you. In this article, we will take a step-by-step look at how to create a simple ceramic product at home.
What you need
Before starting, you need to prepare all the necessary materials and tools. Here is a list of the basic things you will need:
Clay: Choose clay that is suitable for home use. Self-hardening clay is a good option for beginners because it does not require firing in a kiln.
Pottery tools: A set of basic tools includes rolling pins, cutters, sponges and wooden spatulas.
Water: Use it to moisten clay and clean tools.
Potter's wheel: If you don't have one, you can work without one, especially if you're a beginner.
Paints and glazes: To decorate the finished product.
Step 1: Preparation of Clay
Kneading: Knead the clay so that it becomes soft and elastic. This will help avoid air bubbles.
Forming a lump: Make a ball or cylinder of clay, depending on what product you plan to create.
Step 2: Forming the Product
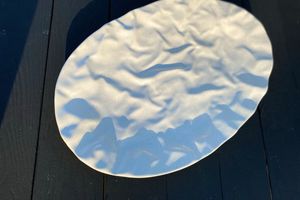
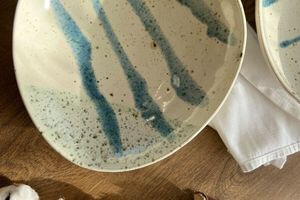
Rolling: If you are creating a plate or flat product, roll the clay with a rolling pin to the desired thickness (about 0.5 cm).
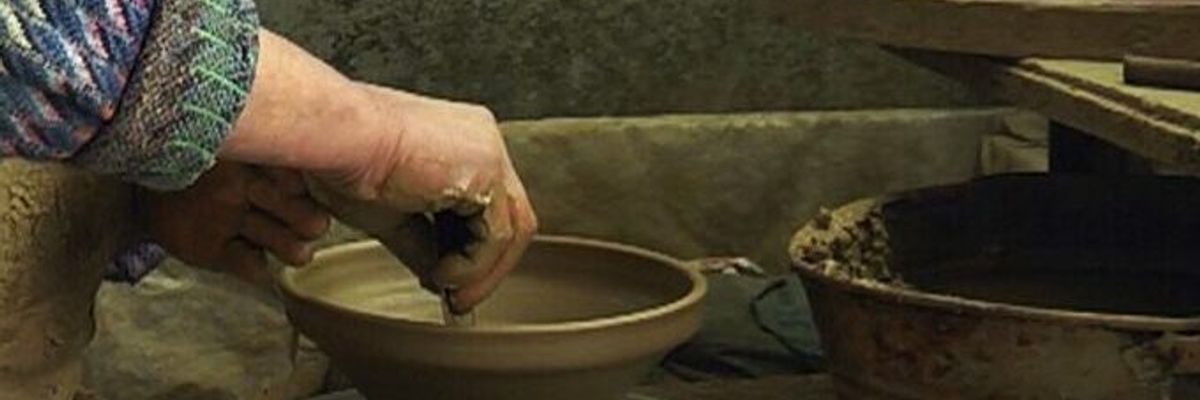
Shaping the walls: For cups or pots, use a potter's wheel or just your hands. Pull out the walls of the product, gently pressing on the clay and lifting it up.
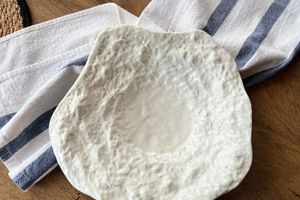
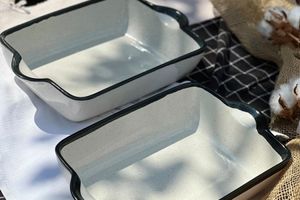
Using molds: You can use different molds or even handy tools like plastic containers to give a certain shape.
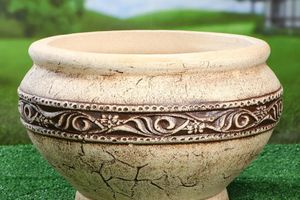
Step 3: Detailing and Finishing
Smooth edges: Use a damp sponge to smooth the edges and surfaces of the product.
Carving: Apply designs or patterns using cutters.
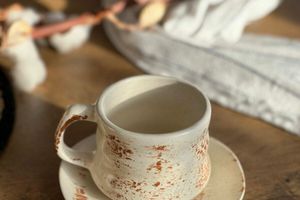
Attaching the handles: If you are making a cup, form the handle and attach it to the main product, lightly moistening the joint with water.
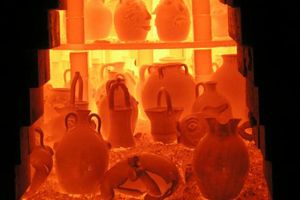
Step 4: Drying and Firing
Drying: Leave the product to dry for several days. This is important to avoid cracks during firing.
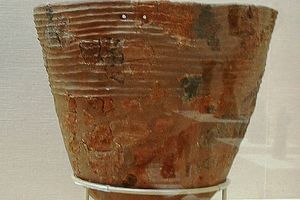
Firing: If you have access to a pottery kiln, fire the piece at the temperature recommended for your clay. If you are using self-hardening clay, follow the manufacturer's instructions.
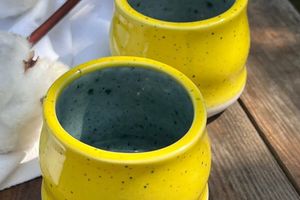
Step 5: Glazing and Painting
Preparation for glazing: After firing (or drying), the product is ready for glazing. Clean its surface from dust and dirt.
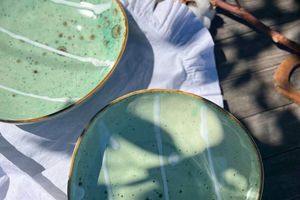
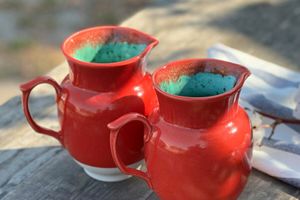
Glazing: Dip the product in the glaze or apply it with a brush. You can experiment with different colors and application techniques.
Final firing: After glazing, the product needs to be fired again, if this is provided for by the technology.
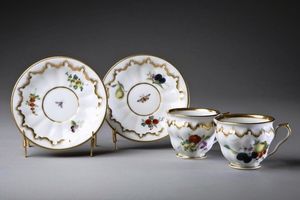
Step 6: Completion
Quality control: After final firing, check the product for defects. Correct if possible.
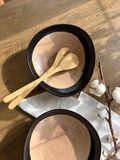
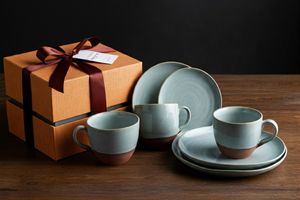
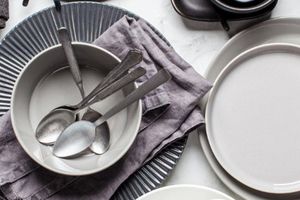
Use: Your product is ready to use! You can enjoy a cup of your own production or gift it to someone special.
Conclusion
Creating ceramic dishes with your own hands is an exciting process that allows you to realize your own ideas and creative ideas. Whether you are a beginner or have some experience, this process will give you a lot of joy and satisfaction. We wish you success in your work!